この記事は3年以上前に書かれた記事で内容が古い可能性があります
Linuxで一番シンプルにメールを送受信する(postfix on Ubuntu)
認証とかDNSサーバとかは考えずに、ただただLinux(CLI)でメールを送受信してみたい、という簡単手順
全体概要は以下の通り
Virtualbox上にVagrantを使ってUbuntu14(14.04.5 LTS)サーバを二つたて、相互にメールを送受信する
(VMは必ずしもVagrantで作らなくても良い)
VMの設定
送信側も受信側も同じ設定だが、わかりやすいように送信側を「smtpSv」、受信側を「smtpCt」というVM名とする
以下手順をそれぞれのVMに対して設定する
(下準備)VagrantでVM作成
Vagrantfileの中身は以下の通り
※”smtpSv”はサーバによって名前を変える
% cat Vagrantfile
Vagrant.configure("2") do |config|
  config.vm.box = "ubuntu/trusty64"
  config.vm.define "smtpSv" do |server|
    server.vm.network "private_network", ip: "192.168.33.100"
  end
end
VM起動
% vagrant up
VMへログイン
% vagrant ssh

$ sudo su
#
hostnameファイルとhostsファイル編集
ホスト名を設定
※「smtpSv.example.com」はサーバによって名前を変える
# vim /etc/hostname
# cat /etc/hostname
smtpSv.example.com
#
今回はDNSサーバを使わずにローカルのhostsファイルを見てメールを送る前提なのでhostsファイルに直接記載設定する
# vim /etc/hosts
# cat /etc/hosts
127.0.0.1 localhost
192.168.33.100 smtpSv
192.168.33.100 smtpSv.example.com
192.168.33.101 smtpCt
192.168.33.101 smtpCt.example.com
設定反映のためにリブートする
# reboot
再びログイン
% vagrant ssh
$ sudo su
#
postfixのインストールと設定
postfixをインストール
# apt-get install -y postfix
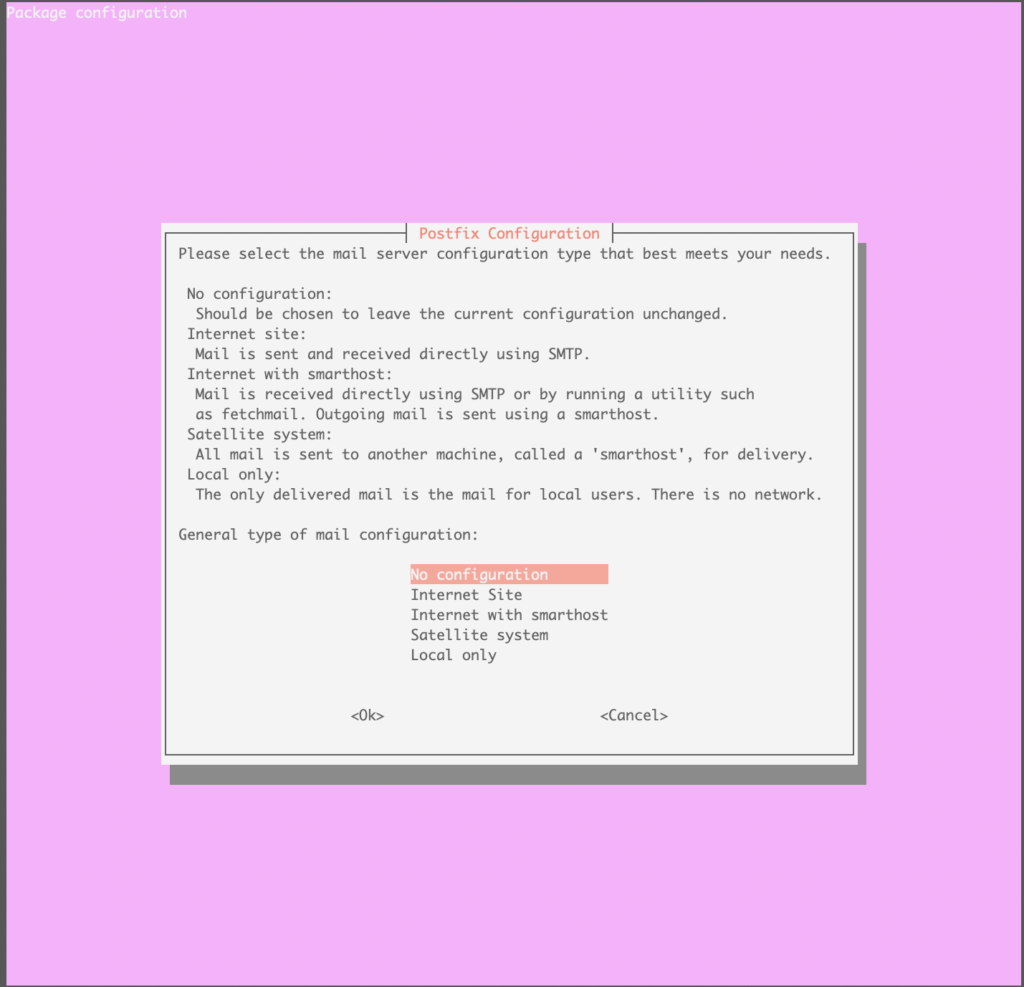
途中で「Please select the mail server configuration type that best meets your needs.」と出てきたら、今回は一番シンプルに行くので「No configuration」を選択
設定ファイルを適切な場所に持ってくる
# cp /usr/lib/postfix/main.cf /etc/postfix/main.cf
中身を編集
※「myhostname = smtpSv.example.com」はサーバによって名前を変える
「smtp_host_lookup = native」は、DNSではなくhostsファイルを見に行ってね(そこになければDNS)という意味
# vim /etc/postfix/main.cf
# diff /usr/lib/postfix/main.cf /etc/postfix/main.cf
59c59
< #mail_owner = postfix
---
> mail_owner = postfix
76c76
< #myhostname = virtual.domain.tld
---
> myhostname = smtpSv.example.com
83c83
< #mydomain = domain.tld
---
> mydomain = example.com
104c104
< #myorigin = $mydomain
---
> myorigin = $mydomain
118c118
< #inet_interfaces = all
---
> inet_interfaces = all
166c166
< #mydestination = $myhostname, localhost.$mydomain, localhost, $mydomain
---
> mydestination = $myhostname, localhost.$mydomain, localhost, $mydomain
209c209
< #local_recipient_maps = unix:passwd.byname $alias_maps
---
> local_recipient_maps = unix:passwd.byname $alias_maps
268c268
< mynetworks = 127.0.0.0/8
---
> mynetworks = 127.0.0.0/8, 192.168.33.0/24
388c388
< #alias_maps = hash:/etc/aliases
---
> alias_maps = hash:/etc/aliases
399c399
< #alias_database = hash:/etc/aliases
---
> alias_database = hash:/etc/aliases
421c421
< #home_mailbox = Maildir/
---
> home_mailbox = Maildir/
557c557,558
< smtpd_banner = $myhostname ESMTP $mail_name (@@DISTRO@@)
---
> #smtpd_banner = $myhostname ESMTP $mail_name (@@DISTRO@@)
> smtpd_banner = $myhostname ESMTP
631c632
< sendmail_path =
---
> sendmail_path = /usr/sbin/postfix
636c637
< newaliases_path =
---
> newaliases_path = /usr/bin/newaliases
641c642
< mailq_path =
---
> mailq_path = /usr/bin/mailq
647c648
< setgid_group =
---
> setgid_group = postdrop
651c652
< html_directory =
---
> #html_directory =
655c656
< manpage_directory =
---
> #manpage_directory =
660c661
< sample_directory =
---
> #sample_directory =
664c665
< readme_directory =
---
> #readme_directory =
665a667,668
>
> smtp_host_lookup = native
設定を反映させて完了
# newaliases
# /etc/init.d/postfix restart
 * Stopping Postfix Mail Transport Agent postfix                                                               [ OK ]
 * Starting Postfix Mail Transport Agent postfix                                                               [ OK ]
もう一つのサーバについても同様に設定をする
動作確認
設定が完了したので動作確認
送信側のVMでメールを送信する
最後に「.」とEnterを押せばメールが送信される
(/var/log/mail.logや/var/log/syslogにログは出力される)
※今回は「smtpCt」サーバ、「example.com」ドメインの、「vagrant」というユーザーあてに送信。環境によって適宜変更ください)
※送信側のVM(smtpSv)で操作
# sendmail vagrant@smtpCt.example.com
Subject:Testmail
hogehoge
.
受信側のサーバでメールが受信できていることを確認
先ほど宛先に指定したユーザーのホームディレクトリ(/home/vagrant)に移動すると
Maildir/new/配下に新しくファイルができているので中身を確認する
※ファイル名は状況によって異なります
※受信側のVM(smtpCt)で操作
# cat Maildir/new/1589606349.V801I400c8M854242.smtpCt.example.com
Return-Path: <root@example.com>
X-Original-To: vagrant@smtpCt.example.com
Delivered-To: vagrant@smtpCt.example.com
Received: from smtpSv.example.com (smtpSv [192.168.33.100])
	by smtpCt.example.com (Postfix) with ESMTP id CF845400C4
	for <vagrant@smtpCt.example.com>; Sat, 16 May 2020 05:19:09 +0000 (UTC)
Received: by smtpSv.example.com (Postfix, from userid 0)
	id 62381400C4; Sat, 16 May 2020 05:19:09 +0000 (UTC)
Subject:Testmail
Message-Id: <20200516051909.62381400C4@smtpSv.example.com>
Date: Sat, 16 May 2020 05:18:55 +0000 (UTC)
From: root@example.com (root)

hogehoge
以上。