この記事は3年以上前に書かれた記事で内容が古い可能性があります
OEM Cloud Control13cをOracleLinux6 on Virtualboxにインストールする〜(2)リポジトリ用DBの作成〜
「OEM Cloud Control13cをOracleLinux6 on Virtualboxにインストールする〜(1.5)事前準備〜」の続き
OEM Cloud Control13cが使うリポジトリデータベースを作成する
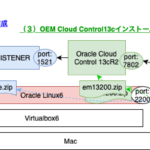
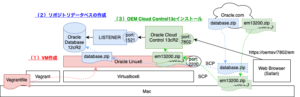
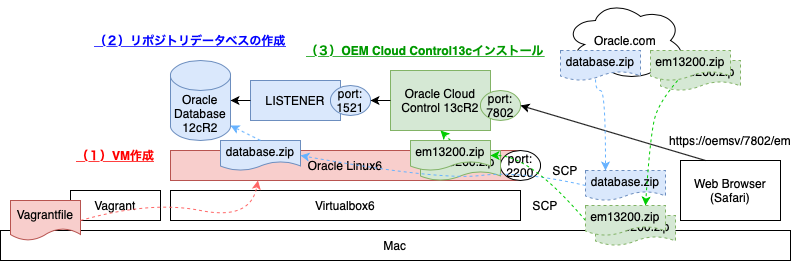
全体図
全体目次
(2)DBインストール:目次
(2−1)Oracle Database 12cのダウンロード
参考:
勉強用にOracle Database 12cをCentOS7 on Virtualboxにインストールする
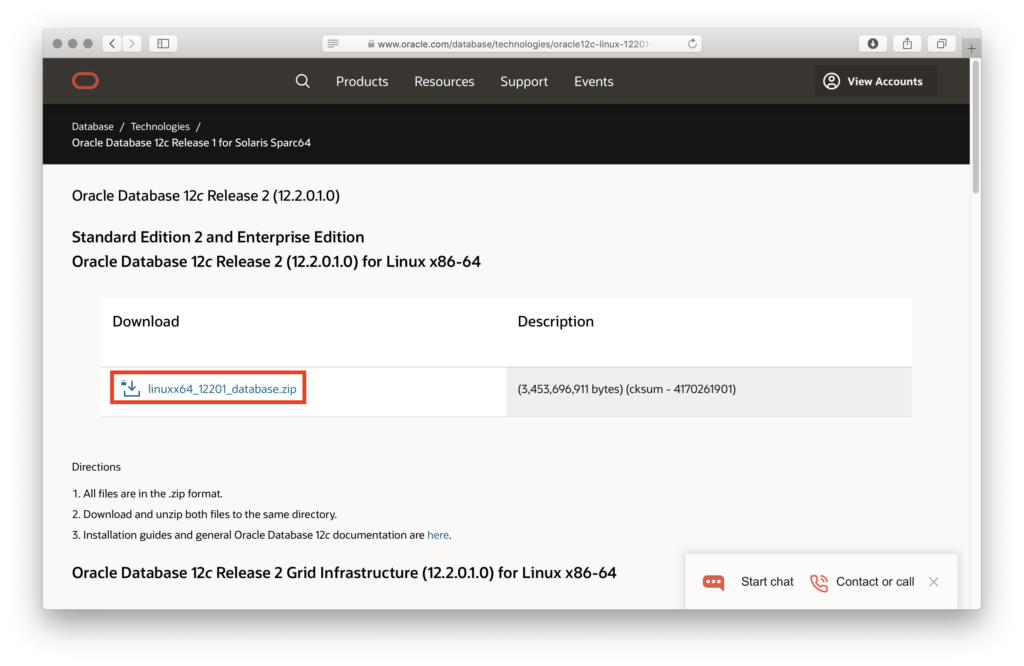
以下リンクより、Oracle Database 12c Release 2 (12.2.0.1.0)をダウンロード
Oracle Database 12c Release 2 (12.2.0.1.0)
※Macから操作
VMへSCPでダウンロードしたファイルを転送する際のポート確認(今回は2200)
% vagrant ssh-config
Host oemsv
  HostName 127.0.0.1
  User vagrant
  Port 2200
  UserKnownHostsFile /dev/null
  StrictHostKeyChecking no
  PasswordAuthentication no
  IdentityFile /hogehoge/oracle_work/oemsv/.vagrant/machines/oemsv/virtualbox/private_key
  IdentitiesOnly yes
  LogLevel FATAL
ダウンロードしたZIPをSCPでMacからVMへ送る
参考:「vagrant ssh」の経路を使って「scp」したいのだが
% scp -r -i ./.vagrant/machines/oemsv/virtualbox/private_key -P 2200 ~/Desktop/linuxx64_12201_database.zip vagrant@localhost:~
(2−2)リポジトリ用データベースの作成
※VMから操作
送られてきたZIPファイルをOracleユーザーのホームディレクトリに置いて、ZIPを解凍すると「database」というディレクトリができる
# mv /home/vagrant/linuxx64_12201_database.zip /home/oracle/
# cd /home/oracle/
# unzip /home/oracle/linuxx64_12201_database.zip
...
# ls database/
install  response  rpm  runInstaller  sshsetup  stage  welcome.html
#
GUIでOracleユーザーでログインしターミナルを立ち上げ、「./database/runInstaller」でインストーラを立ち上げる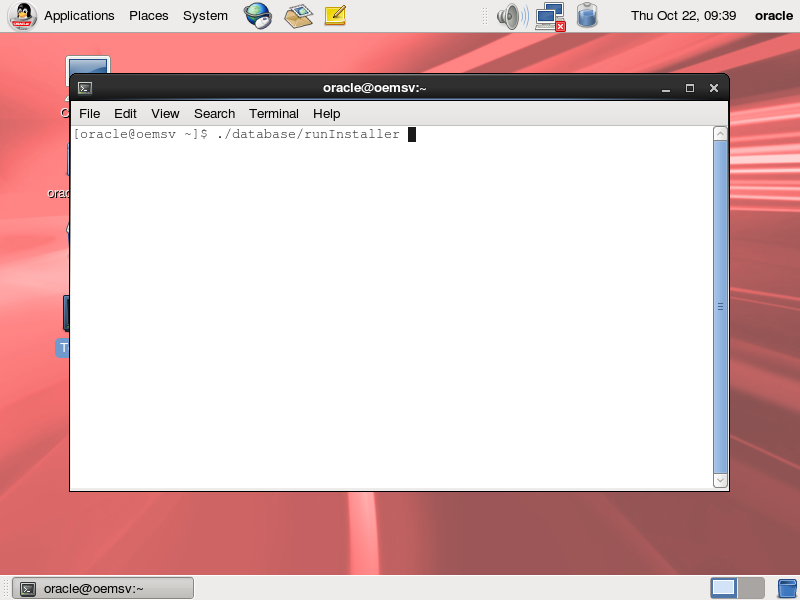
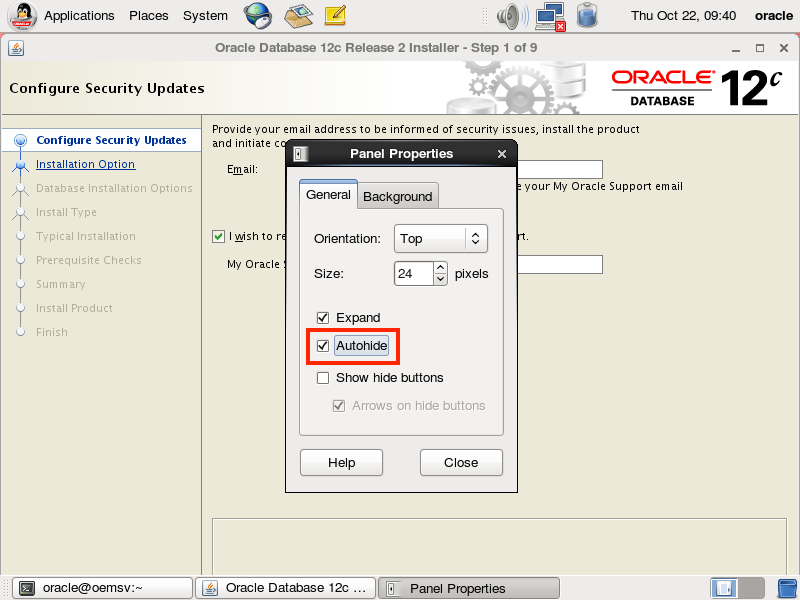
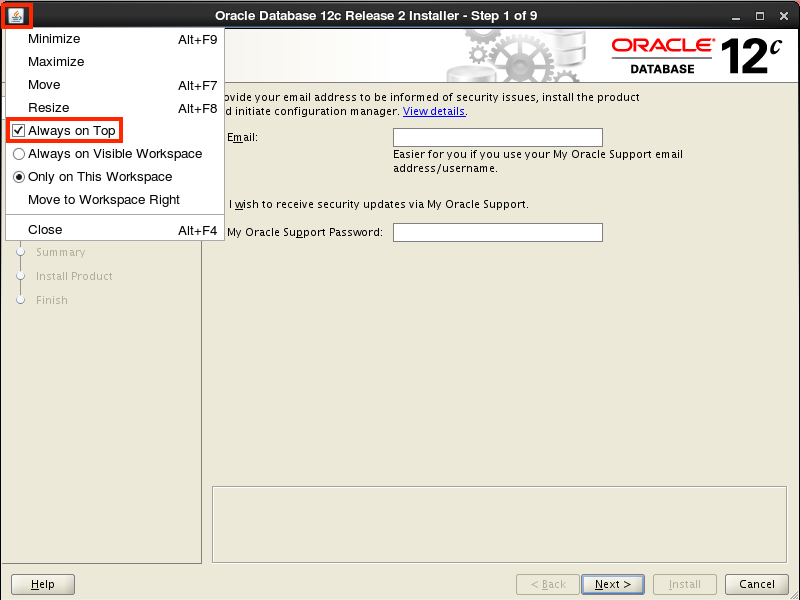
見えずらかったら、上のメニューバー右クリック(Macの場合は二本指タップ)>「Propaties」>「Autohide」と
インストーラ画面の左上アイコンをクリック>「Always on Top」で調整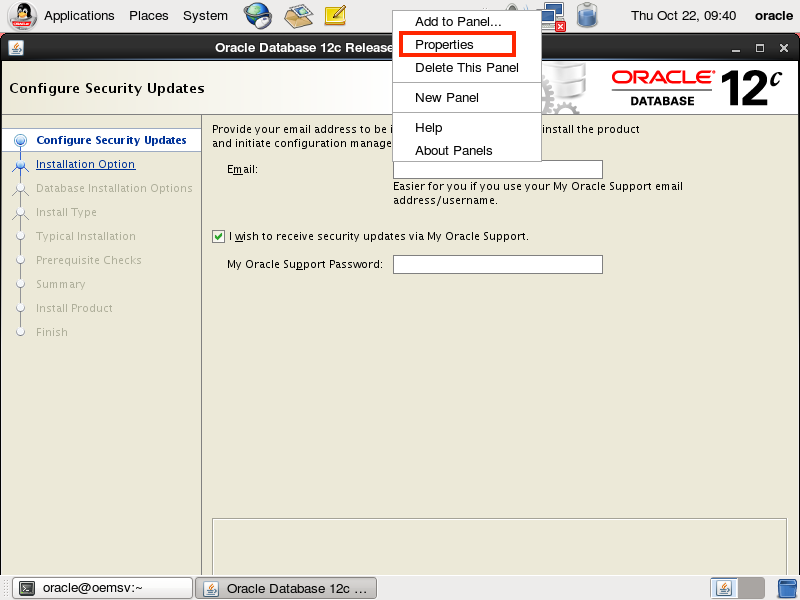
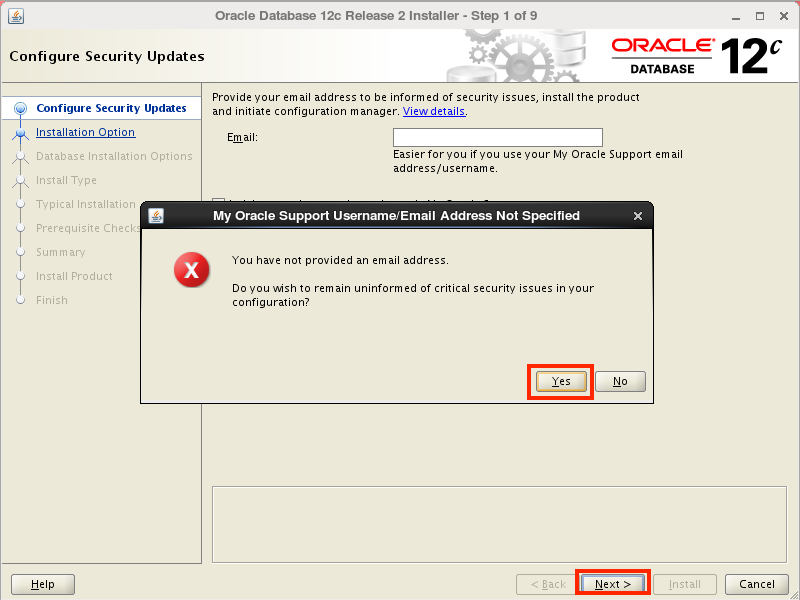
画面に沿って進める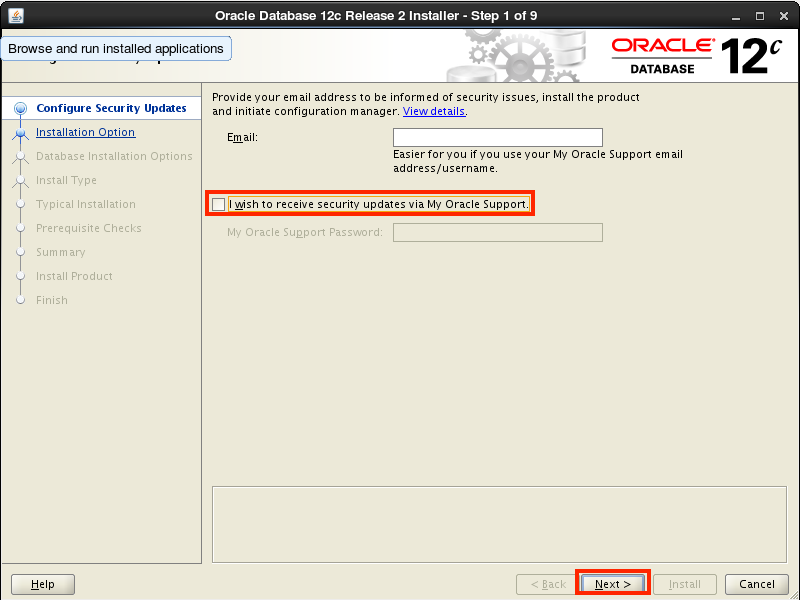
テンプレートを使う場合は、Software onlyでインストールだが、今回はここでデータベース作成する
Desktop classを選択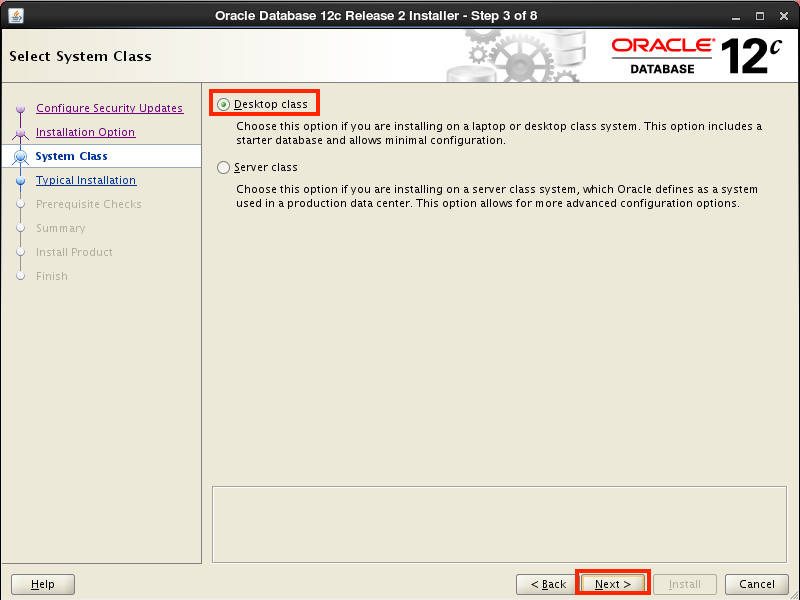
データベースのパスワードを入力
「Create as Container databese」のチェックは外す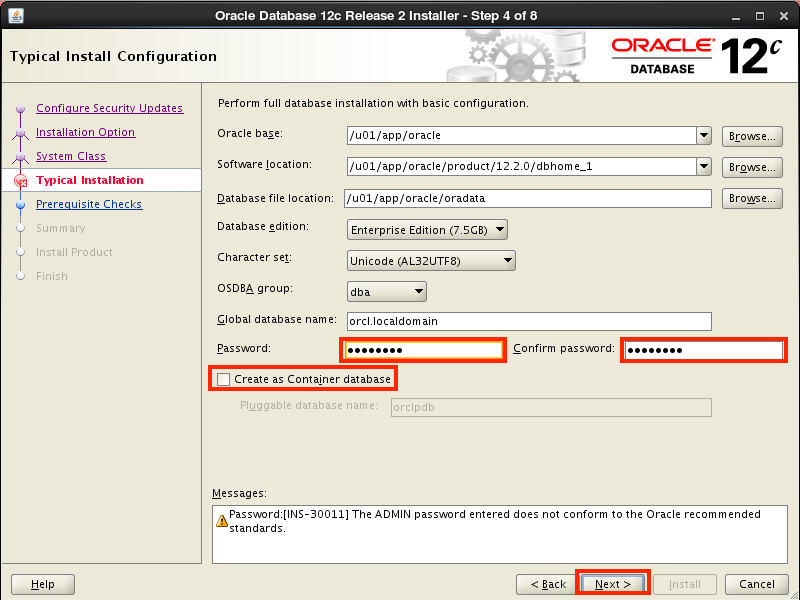

デフォルトのまま進める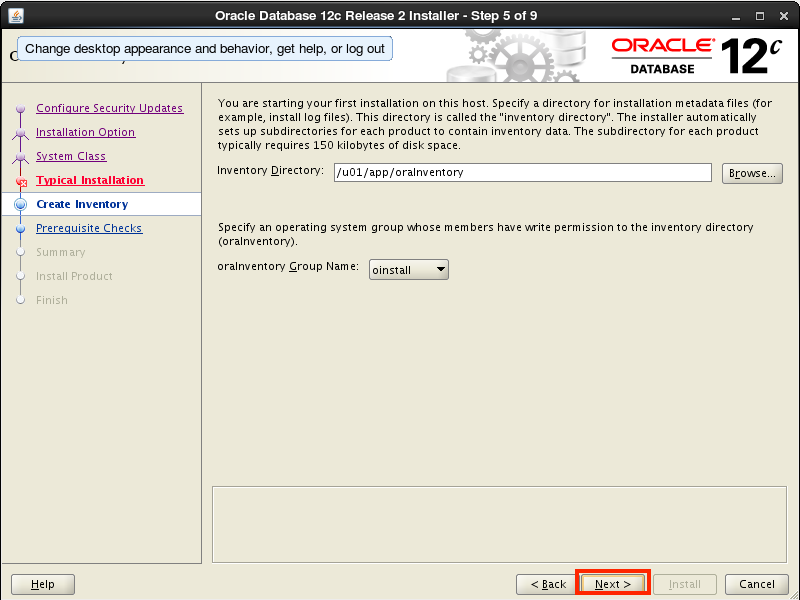
次「Prerequisite Checks」画面にて、スワップファイルが足りないと警告が出る
確認すると、スワップファイルが外れているので、もう一度swaponしておく
※キャプチャとり忘れにつき以下参考画像(Release1)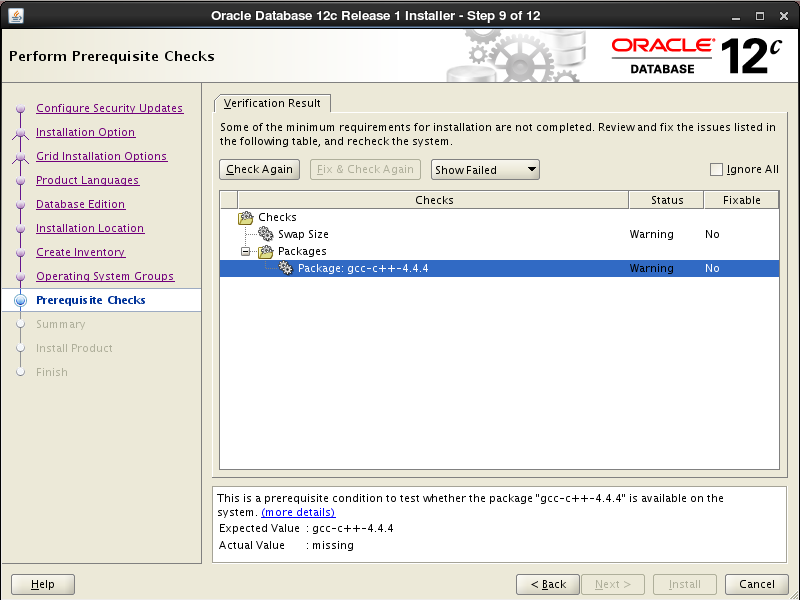
# swapon -s
Filename				Type		Size	Used	Priority
/dev/dm-0                               partition	4194300	0	-1
#
# swapon /swapfile
#
# swapon -s
Filename				Type		Size	Used	Priority
/dev/dm-0                               partition	4194300	0	-1
/swapfile                               file		8388604	0	-2
「Check again」をクリックすると進める
問題なければ「Install」(所要時間10分くらいでした)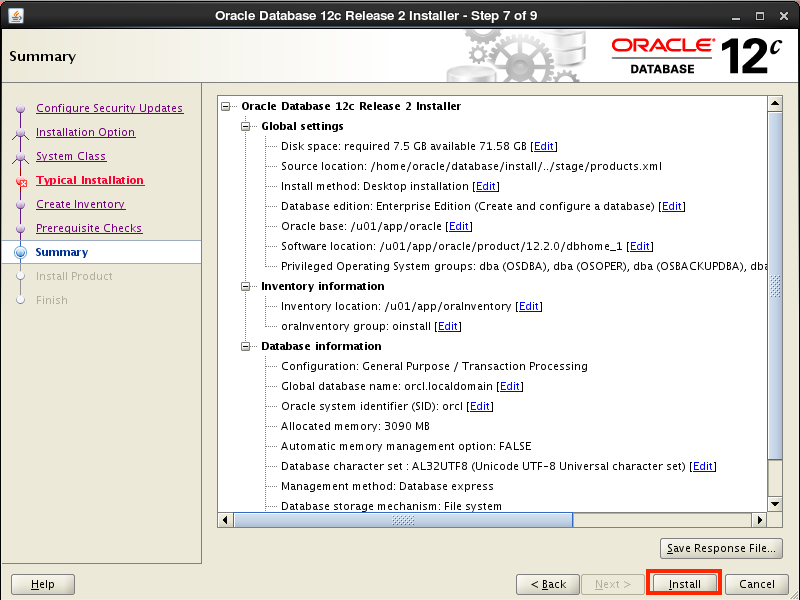
途中で二つのスクリプトを実行しろとでてくるので「rootユーザーで」実行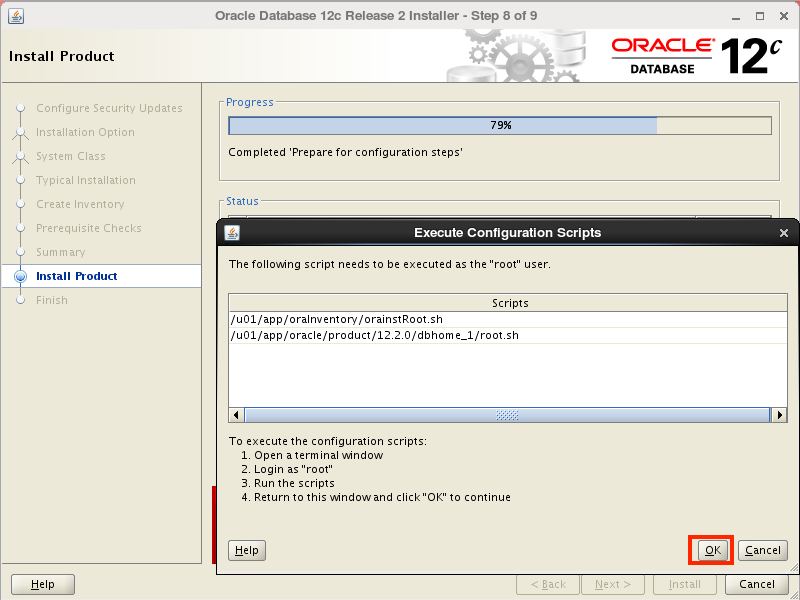
一つ目
# sh /u01/app/oraInventory/orainstRoot.sh
Changing permissions of /u01/app/oraInventory.
Adding read,write permissions for group.
Removing read,write,execute permissions for world.

Changing groupname of /u01/app/oraInventory to oinstall.
The execution of the script is complete.
二つ目
# sh /u01/app/oracle/product/12.2.0/dbhome_1/root.sh
Performing root user operation.

The following environment variables are set as:
    ORACLE_OWNER= oracle
    ORACLE_HOME=  /u01/app/oracle/product/12.2.0/dbhome_1

Enter the full pathname of the local bin directory: [/usr/local/bin]:
   Copying dbhome to /usr/local/bin ...
   Copying oraenv to /usr/local/bin ...
   Copying coraenv to /usr/local/bin ...


Creating /etc/oratab file...
Entries will be added to the /etc/oratab file as needed by
Database Configuration Assistant when a database is created
Finished running generic part of root script.
Now product-specific root actions will be performed.
Do you want to setup Oracle Trace File Analyzer (TFA) now ? yes|[no] :

Oracle Trace File Analyzer (TFA - User Mode) is available at :
    /u01/app/oracle/product/12.2.0/dbhome_1/suptools/tfa/release/tfa_home/bin/tfactl

OR

Oracle Trace File Analyzer (TFA - Daemon Mode) can be installed by running this script :
    /u01/app/oracle/product/12.2.0/dbhome_1/suptools/tfa/release/tfa_home/install/roottfa.sh
実行したら「OK」をクリック
完了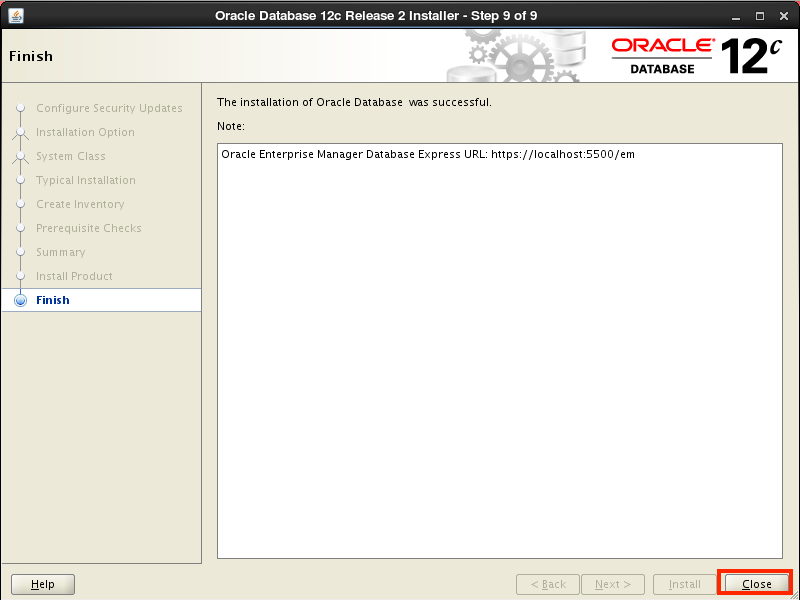
(2−3)データベース作成後の処理
データベース(DB)作成完了後の作業
バックアップを作成しつつ、「.bash_profile」にORACLE_HOME環境変数設定
# cp /home/oracle/.bash_profile /home/oracle/.bash_profile.20201022
# vim /home/oracle/.bash_profile
# diff /home/oracle/.bash_profile /home/oracle/.bash_profile.20201022
13,21d12
<
< # Oracle settings 20201022
< ORACLE_HOME=/u01/app/oracle/product/12.2.0/dbhome_1/
< PATH=$PATH:$HOME/bin:$ORACLE_HOME/bin
< export ORACLE_HOME
< export PATH
<
< ORACLE_SID=orcl
< export ORACLE_SID
# tail -9 /home/oracle/.bash_profile

# Oracle settings 20201022
ORACLE_HOME=/u01/app/oracle/product/12.2.0/dbhome_1/
PATH=$PATH:$HOME/bin:$ORACLE_HOME/bin
export ORACLE_HOME
export PATH

ORACLE_SID=orcl
export ORACLE_SID
DBへの接続確認
「SELECT INSTANCE_NAME FROM V$INSTANCE;」でインスタンス名も確認しておく
# su - oracle
$ sqlplus /nolog

SQL*Plus: Release 12.2.0.1.0 Production on Thu Oct 22 10:49:41 2020

Copyright (c) 1982, 2016, Oracle.  All rights reserved.

SQL> conn / as sysdba
Connected.
SQL>
SQL> SELECT INSTANCE_NAME FROM V$INSTANCE;

INSTANCE_NAME
----------------
orcl

SQL>
SQL> quit
Disconnected from Oracle Database 12c Enterprise Edition Release 12.2.0.1.0 - 64bit Production
$
LISTENER接続確認
ホスト名(HOST=localhost)とポート(PORT=1521)を確認しておく
$ lsnrctl status

LSNRCTL for Linux: Version 12.2.0.1.0 - Production on 22-OCT-2020 14:08:12

Copyright (c) 1991, 2016, Oracle.  All rights reserved.

Connecting to (DESCRIPTION=(ADDRESS=(PROTOCOL=TCP)(HOST=localhost)(PORT=1521)))
STATUS of the LISTENER
------------------------
Alias                     LISTENER
Version                   TNSLSNR for Linux: Version 12.2.0.1.0 - Production
Start Date                22-OCT-2020 10:02:09
Uptime                    0 days 4 hr. 6 min. 3 sec
Trace Level               off
Security                  ON: Local OS Authentication
SNMP                      OFF
Listener Parameter File   /u01/app/oracle/product/12.2.0/dbhome_1/network/admin/listener.ora
Listener Log File         /u01/app/oracle/diag/tnslsnr/oemsv/listener/alert/log.xml
Listening Endpoints Summary...
  (DESCRIPTION=(ADDRESS=(PROTOCOL=tcp)(HOST=127.0.0.1)(PORT=1521)))
  (DESCRIPTION=(ADDRESS=(PROTOCOL=ipc)(KEY=EXTPROC1521)))
  (DESCRIPTION=(ADDRESS=(PROTOCOL=tcps)(HOST=oemsv.localdomain)(PORT=5500))(Security=(my_wallet_directory=/u01/app/oracle/admin/orcl/xdb_wallet))(Presentation=HTTP)(Session=RAW))
Services Summary...
Service "orcl.localdomain" has 1 instance(s).
  Instance "orcl", status READY, has 1 handler(s) for this service...
Service "orclXDB.localdomain" has 1 instance(s).
  Instance "orcl", status READY, has 1 handler(s) for this service...
The command completed successfully
続きはこちら
OEM Cloud Control13cをOracleLinux6 on Virtualboxにインストールする〜(3)OEM Cloud Controlインストール〜